
Real-time 3D Animation with MotionBuilder and Perception Neuron
Animate characters for your games, films and animations using Perception Neuron and MotionBuilder. The Axis Plugin for MotionBuilder allows for the
transfer of data from Axis Studio to MotionBuilder.
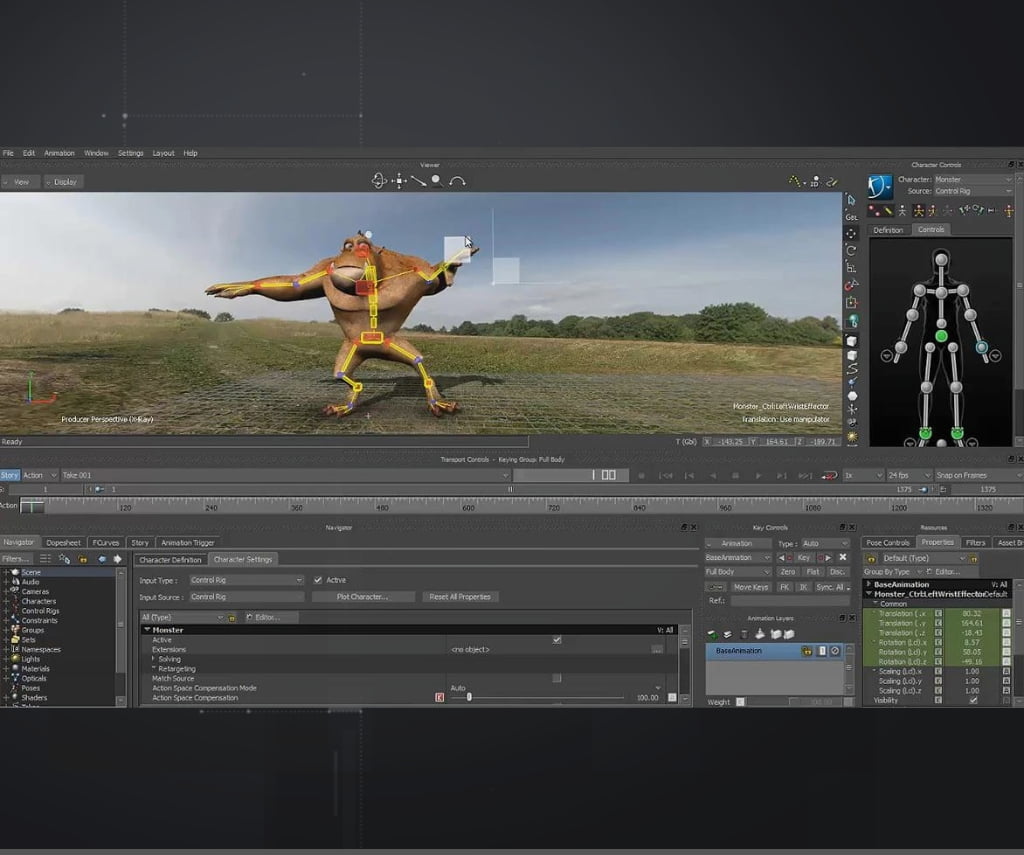
Complete Animation Pipeline: Axis Motion Capture Software to MotionBuilder
The Axis Plugin for MotionBuilder integrates seamlessly with MotionBuilder, allowing users to capture data from Axis in real-time, stream real-time data or playback Axis data directly onto your character.
Axis Plugin For MotionBuilder
Requirements:
- Axis Neuron / Axis Studio
- Windows x86_64
- Motionbuilder 2014-2024
Download / Install:
Previous Versions:
- Axis Plugin for Motionbuilder 2023
- Axis Plugin for Motionbuilder 2022
- Axis Plugin for Motionbuilder 2020
- Axis Plugin for Motionbuilder 2019
- Axis Plugin for Motionbuilder 2018
- Axis Plugin for Motionbuilder 2017
- Axis Plugin for Motionbuilder 2015
- Axis Plugin for Motionbuilder 2014
- Axis Plugin for Motionbuilder 2013
Sample Files:
Tutorials
Learn how to take motion capture data from your Perception Neuron Studio or
Perception Neuron 3 into Unreal Engine
MotionBuilder Guides
Our MotionBuilder Guides will get you up and running in no time.
-
MotionBuilder plugin installation
See Guide -
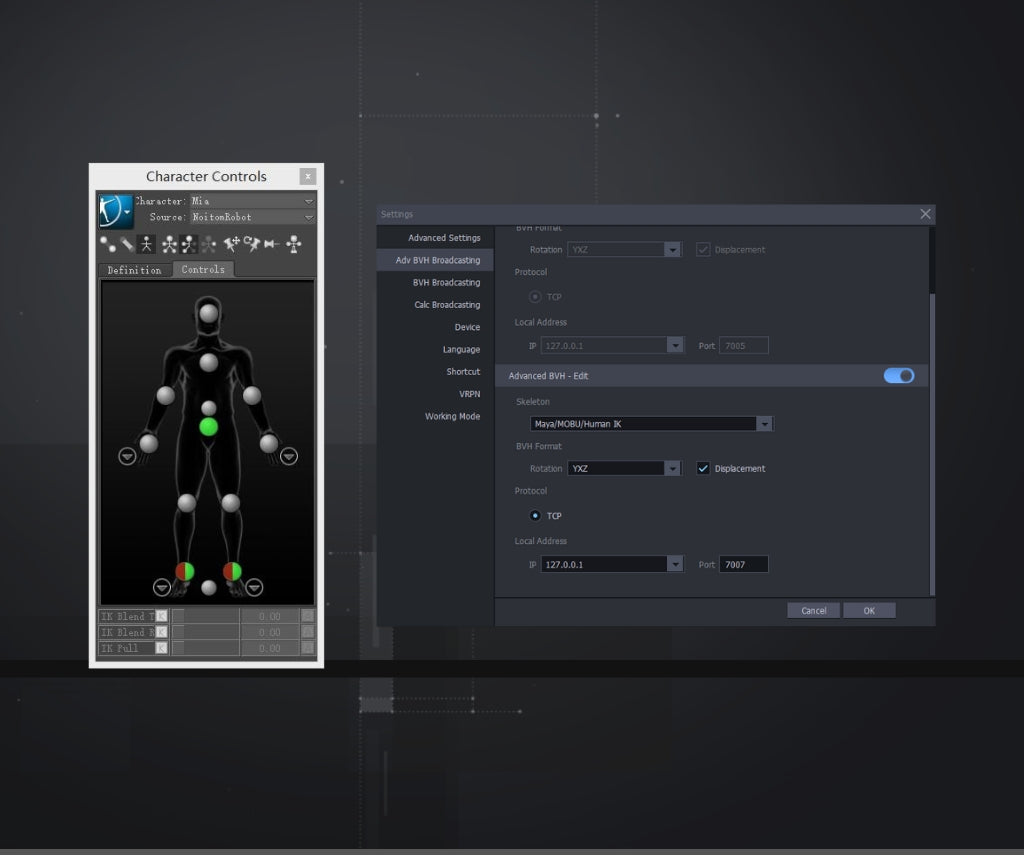
Recording Live in MotionBuilder
See Guide -
Retargeting Mocap data in MotionBuilder
See Guide -
All MotionBuilder Guides
All Guides